Introduction#
Static sites are fast, secure, and easy to host for free on GitHub Pages. Hugo is one of the fastest static site generators, and Blowfish is a powerful, lightweight theme for Hugo.
In this quick start guide, we will:
- Setup Hugo and add the Blowfish theme
- Setup the basic configuration of the site
- Create a new post and deploy locally
- Add a comment system (Giscus)
- Deploy the site to GitHub Pages
Note: this guide is tested on macOS.
1. Install Hugo and Git#
First, install Hugo and Git based on your platform.
macOS#
Open the terminal and run the following commands to install hugo and git using brew:
brew install hugo
brew install git
Other Platforms#
You can find detailed installation instructions for your platform in the Hugo docs and Git docs.
Verify the Installation#
Verify by running the following command:
hugo version
⚠️ Make sure you are using Hugo version 0.87.0 or later as the theme takes advantage of some of the latest Hugo features.
2. Create your Hugo site#
We will create a new Hugo site named <your-site-name>, e.g., my-site.
This directory will be used to store your site’s code.
Create a new Hugo site#
Run the following commands to create a new Hugo site and initialize a git repository:
hugo new site <your-site-name>
cd <your-site-name>
Directory structure#
⚠️ From now on, we will assume that the working directory is <your-site-name>.
The directory structure should look like this:
<your-site-name>/
├── archetypes/
│   └── default.md
├── assets/
├── content/
├── data/
├── hugo.toml
├── i18n/
├── layouts/
├── static/
└── themes/
The explanation of the directories is in the Hugo docs.
I know there are a lot of directories, but don’t worry, in this guide, we will only focus on the following directories:
archetypes/: Contains templates for new content. Refer to Hugo docs.config/: Contains the configuration files. Refer to Hugo docs & Blowfish docs.content/: Contains the content of the site, e.g., Blog posts, About page, etc. Refer to Hugo docs & Blowfish docs.themes/: Contains the themes of the site. You can find other themes in Hugo Themes.
3. Add the Blowfish Theme#
Blowfish provides a helper tool to configure everything quickly but I refer to adding the theme manually.
⚠️ Make sure the working directory is <your-site-name> before running the following commands.
Initialize Git and add the Blowfish theme#
git init
git submodule add -b main https://github.com/nunocoracao/blowfish.git themes/blowfish
Copy the configuration files#
We will use the setting provided by Blowfish, so we delete the current one created by hugo and copy the ones from the theme.
rm -rf hugo.toml
cp -r themes/blowfish/config ./
Run the site locally#
Run the following command to run the site locally:
hugo server -D # -D flag to run the site in draft mode
From the terminal, you should see the local site, e.g., http://localhost:1313, open it in your browser.
You should see the default Blowfish homepage like this:
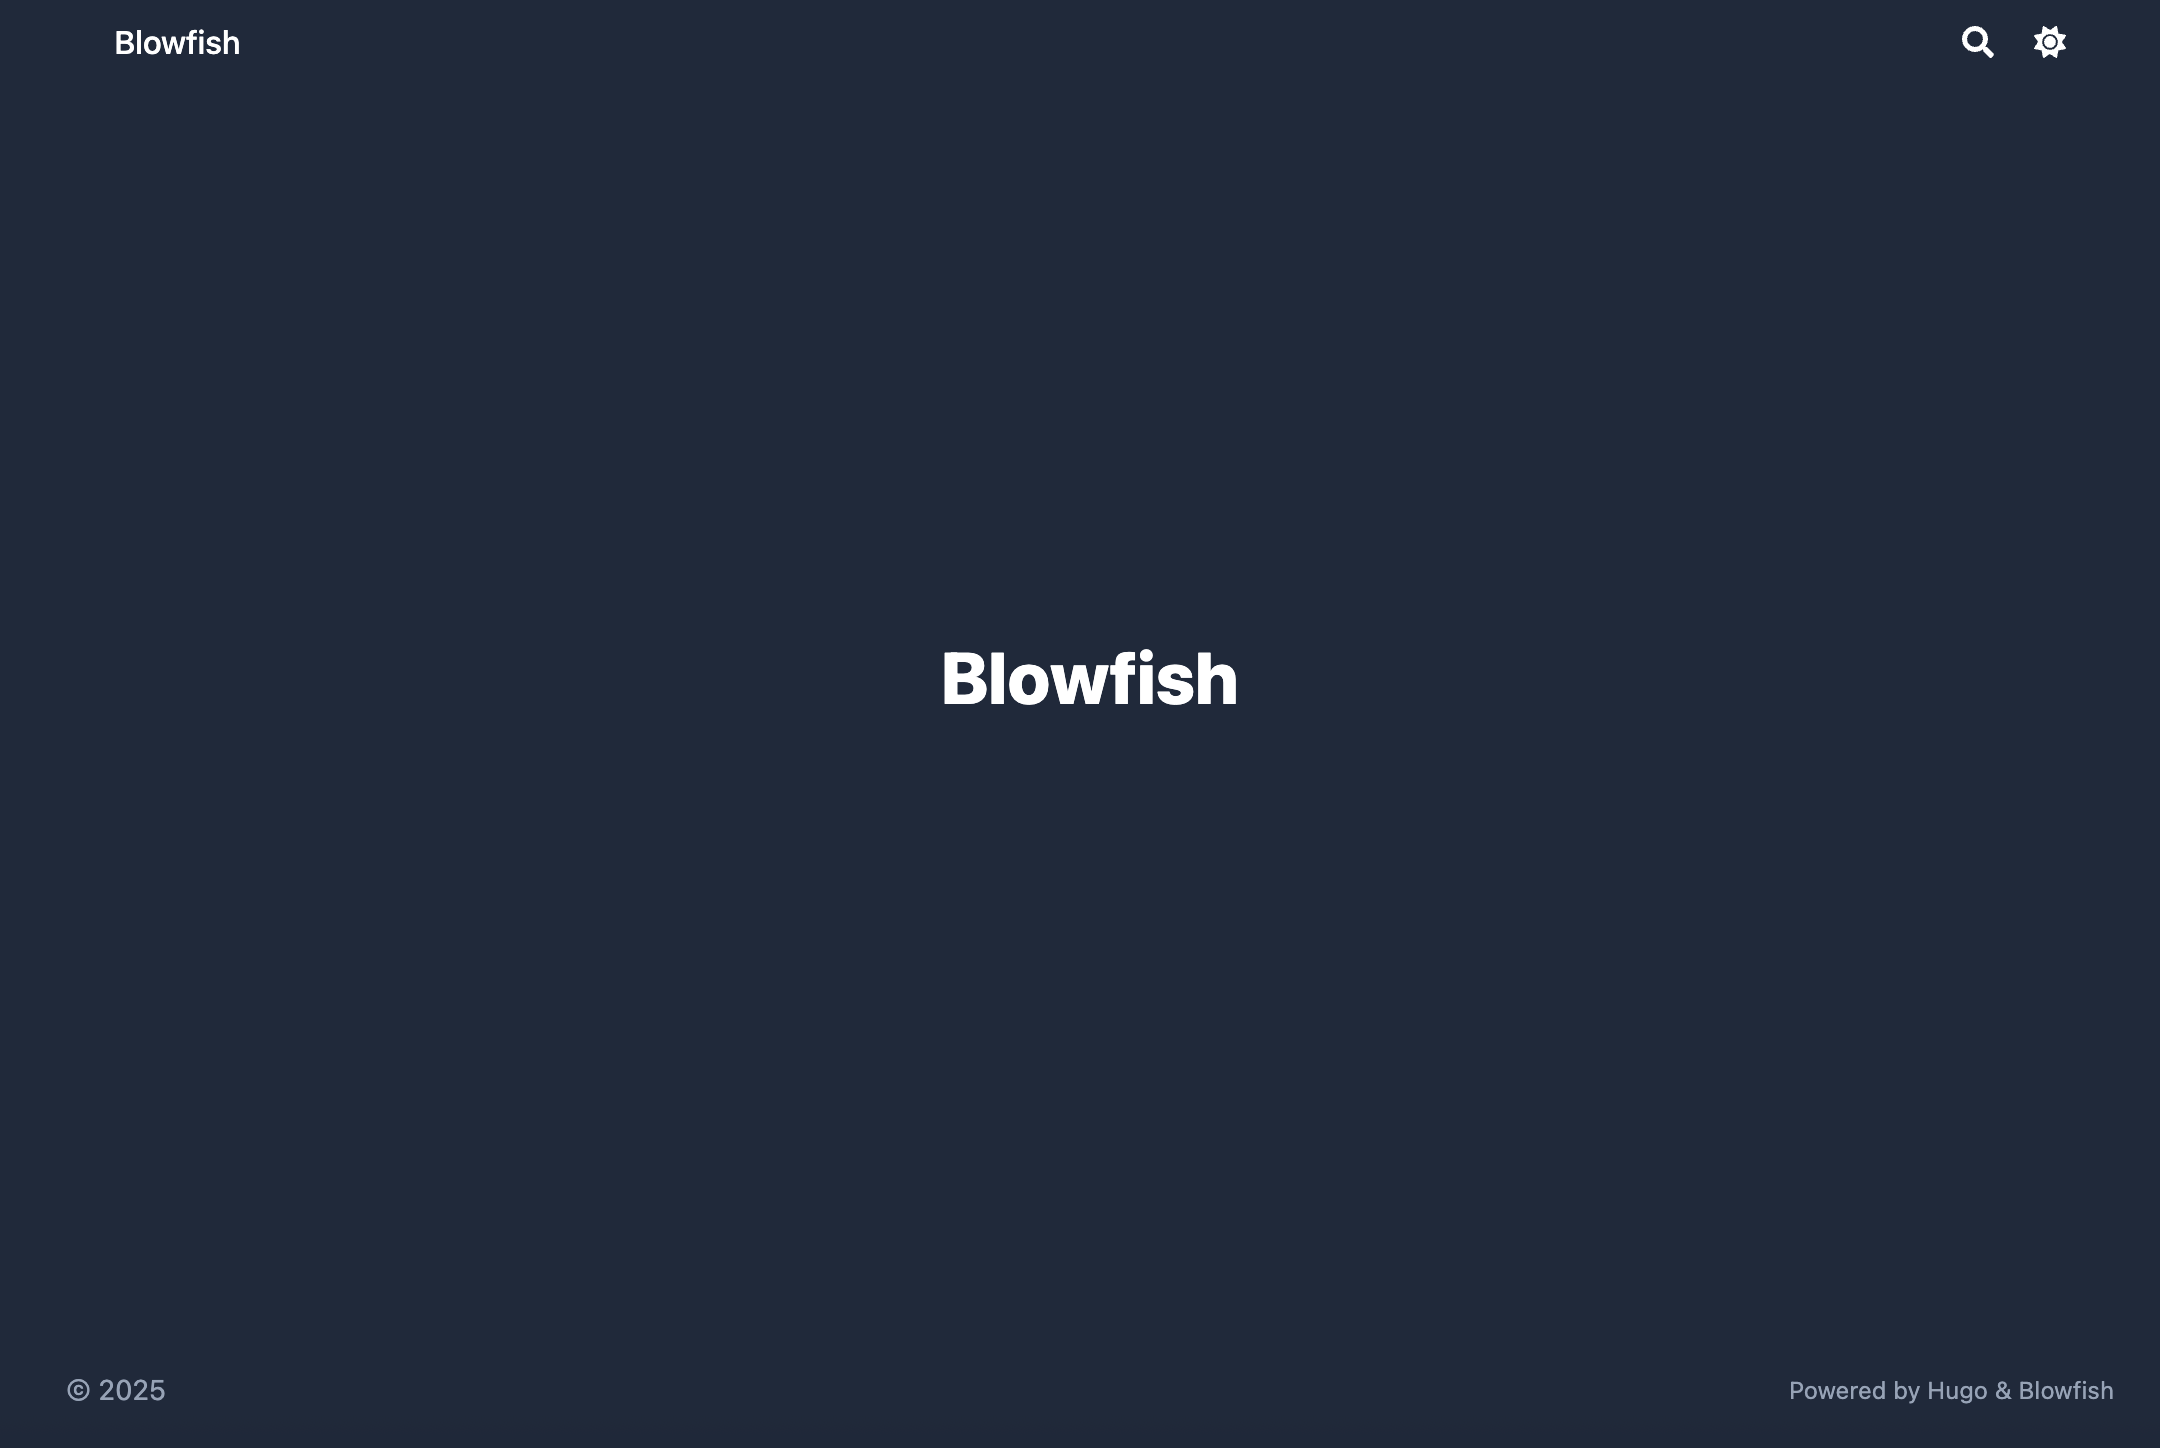
Now, we are ready to configure the site in the next section.
⚠️ Keep the terminal running the hugo server -D command.
It will automatically update the site when you make changes (after saving the file).
If you close the terminal, you need to run the command again to start the server.
4. Configure the Site and Homepage#
The directory structure of config/ should look like this:
<your-site-name>/
└──config/
    └── _default/
        ├── hugo.toml
        ├── languages.en.toml
        ├── markup.toml
        ├── menus.en.toml
        ├── module.toml
        └── params.toml
Configure the Site#
Open config/_default/hugo.toml and modify these lines to use the Blowfish theme and set the base URL:
theme = "blowfish" # UNCOMMENT THIS LINE AND CHANGE THIS TO "blowfish"
baseURL = "https://<your-github-username>.github.io" # CHANGE THIS TO YOUR DOMAIN according to your GitHub account name, e.g., `https://khoa-nt.github.io` is the domain for the GitHub account name "khoa-nt"
Refer to Blowfish site-configuration for more details.
Configure the Homepage#
Open config/_default/languages.en.toml and modify these lines to set the title and author information:
title = "My Hugo Site" # Title of your site

# Uncomment this section and change the values to your own
[params.author]
    name = "My Name" # Name of the author
    image = "img/author.jpg" # Image should be placed in the `assets/` folder, e.g., `<your-site-name>/assets/img/author.jpg`
Add more details#
Create content/_index.md and modify the content to your own. For example, I refer to the content looks like this:
---
title: "Welcome to my website!" # For meta data
description: "This is a content of the homepage." # For meta data

### Ref:
### + Parameters: https://blowfish.page/docs/front-matter/
---

Welcome! The website is still under construction. # The text will be displayed in the homepage below the homepage image
You should see the homepage has been updated with your information:
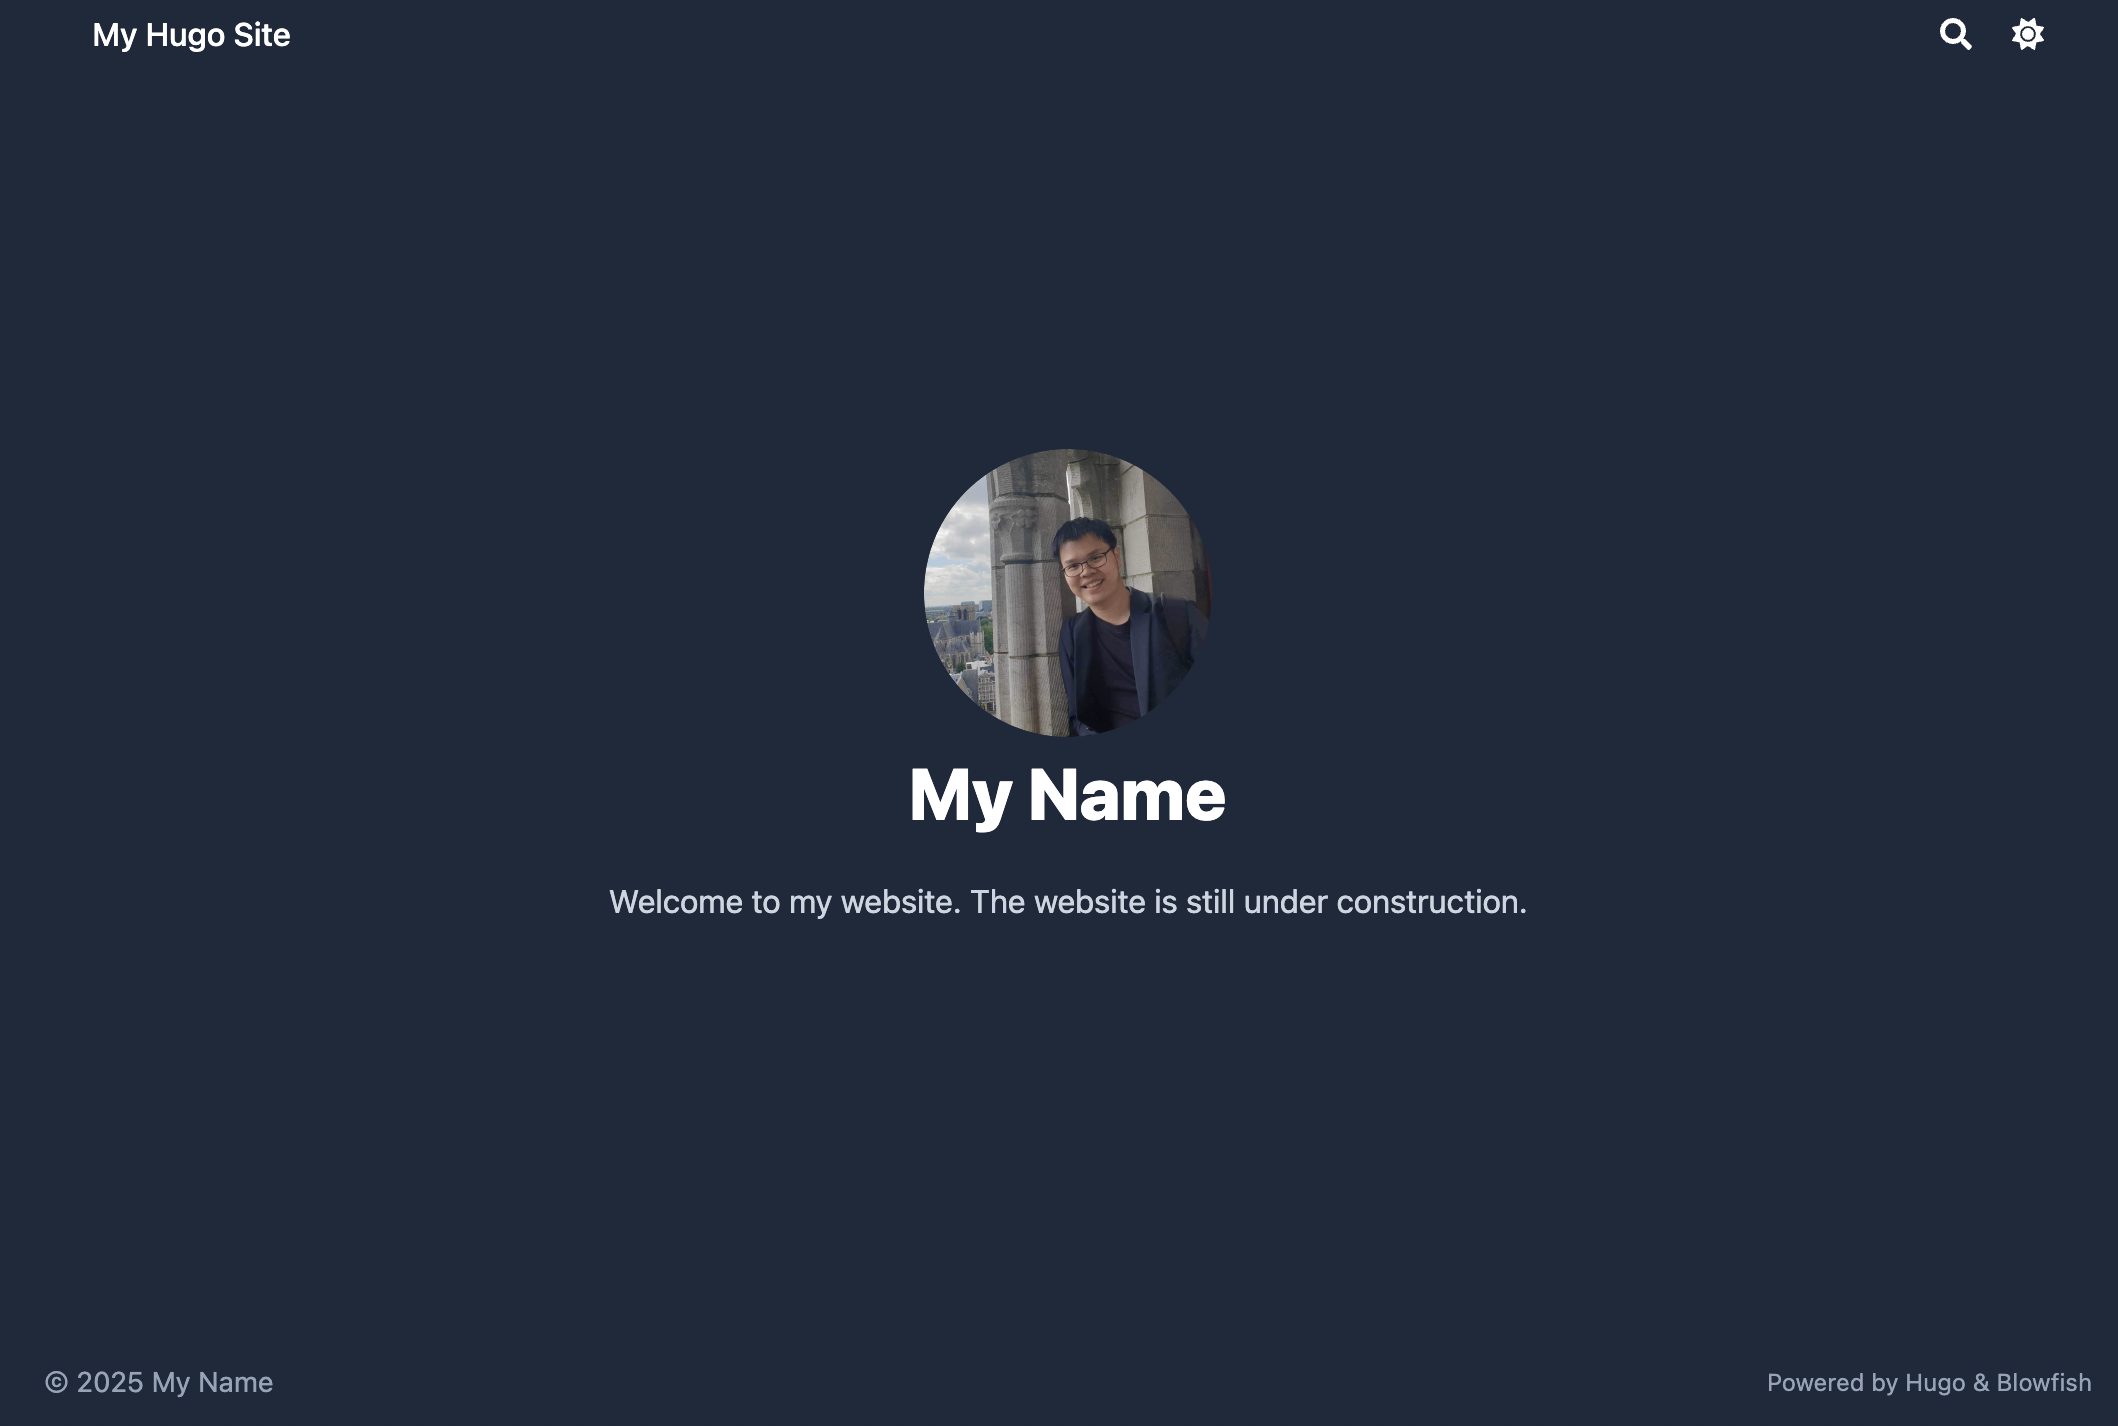
Refer to Blowfish Language Configuration for more details.
Configure the Menu#
Open config/_default/menus.en.toml and uncomment these lines to set the menu structure:
[[main]]
   name = "Blog"
   pageRef = "posts" ### this page will link to the `posts` directory in `content/`, e.g., `content/posts/`
   weight = 10
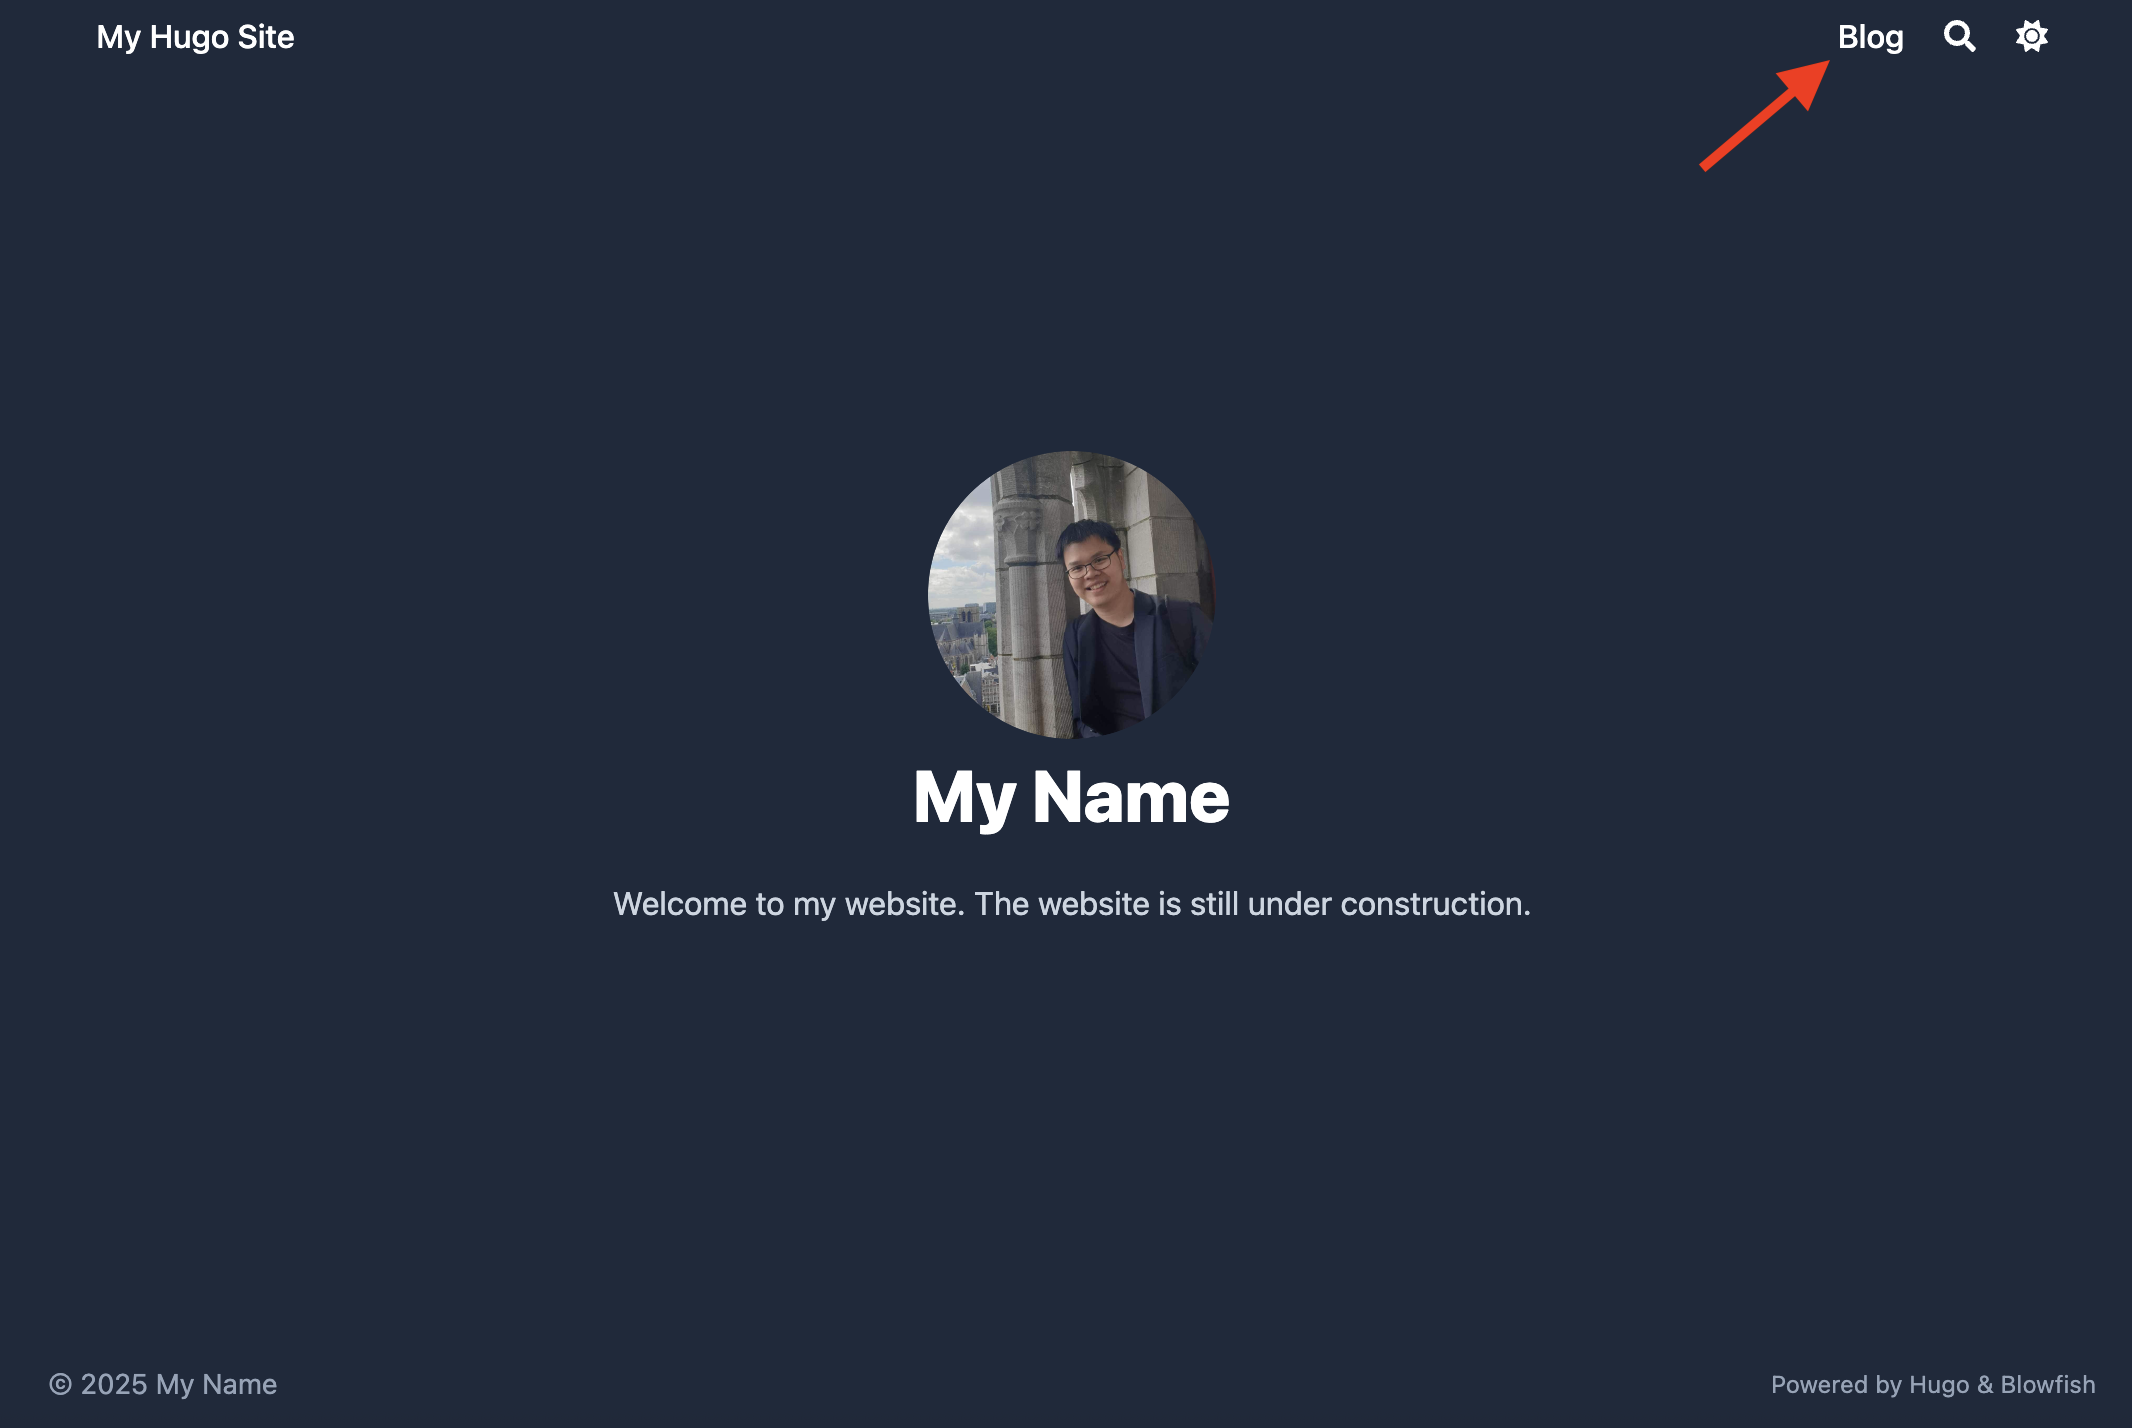
You should see the menu has been updated with the Blog section on the top right:
5. Create a post Template#
We will create a post template in archetypes/ to use for new posts.
Feel free to change the template to your own.
I refer to the post template looks like this:
archetypes/
├── default.md          # default template for all posts of hugo (Already exists)
└── posts/              # template for new posts (We will create this)
    ├── attachments/    # attachments for the post
    ├── images/         # images for the post
    └── index.md        # template for new posts
Create empty folders and files#
Open another terminal, go to <your-site-name> directory and run the following commands:
mkdir -p archetypes/posts/images archetypes/posts/attachments
touch archetypes/posts/index.md

touch archetypes/posts/images/.gitkeep
touch archetypes/posts/attachments/.gitkeep
⚠️ We will use this terminal to run the commands from now on.
Modify the template#
Open archetypes/posts/index.md and modify the template to your own.
I refer to the template looks like this:
---
### Required / basic
title: '{{ replace .File.ContentBaseName `-` ` ` | title }}' # auto-generate title from folder name
date: '{{ .Date }}' # sets the creation date
### Draft / publication control
draft: true # mark new posts as drafts by default
### SEO / metadata
description: "" # short description or excerpt for meta tags
### Feature image / hero
# featureimage: "images/cover.jpg" # path to a feature image (optional)
# featureimagecaption: "An illustrative cover" # caption for the feature image
# showHero: true # whether to show the hero image
### Content display controls
# showDate: true # show the date in the article
showReadingTime: true # show estimated reading time
# showTableOfContents: false # whether to show a TOC in the article
### Taxonomy fields
tags: [] # tags for this blog post
# series: [] # series name(s) if you group posts
# series_order: 1 # ordering in series, if used
### Comments / sharing
### Available values are: “bluesky”, “email”, “facebook”, “line”, “linkedin”, “mastodon”, “pinterest”, “reddit”, “telegram”, “twitter”, and “whatsapp”.
# showComments: false # whether to include comments section
# sharingLinks: ["twitter", "linkedin", "facebook"] # which social links to show.
### Edit link (if your config enables showEdit)
# editURL: "" # base URL for “edit this page”
# editAppendPath: true # whether to append the page path to editURL
---
Start writing your blog post in Markdown here.
Use images placed in the `images/` folder next to this file, e.g.:

6. Create Your First Post#
We will create a new post in content/posts/ to test the post template.
hugo new posts/my-first-post
⚠️ You may see the warning message like this:
WARN Module "blowfish" is not compatible with this Hugo version ...There is no need to worry about this. Everything is working fine.
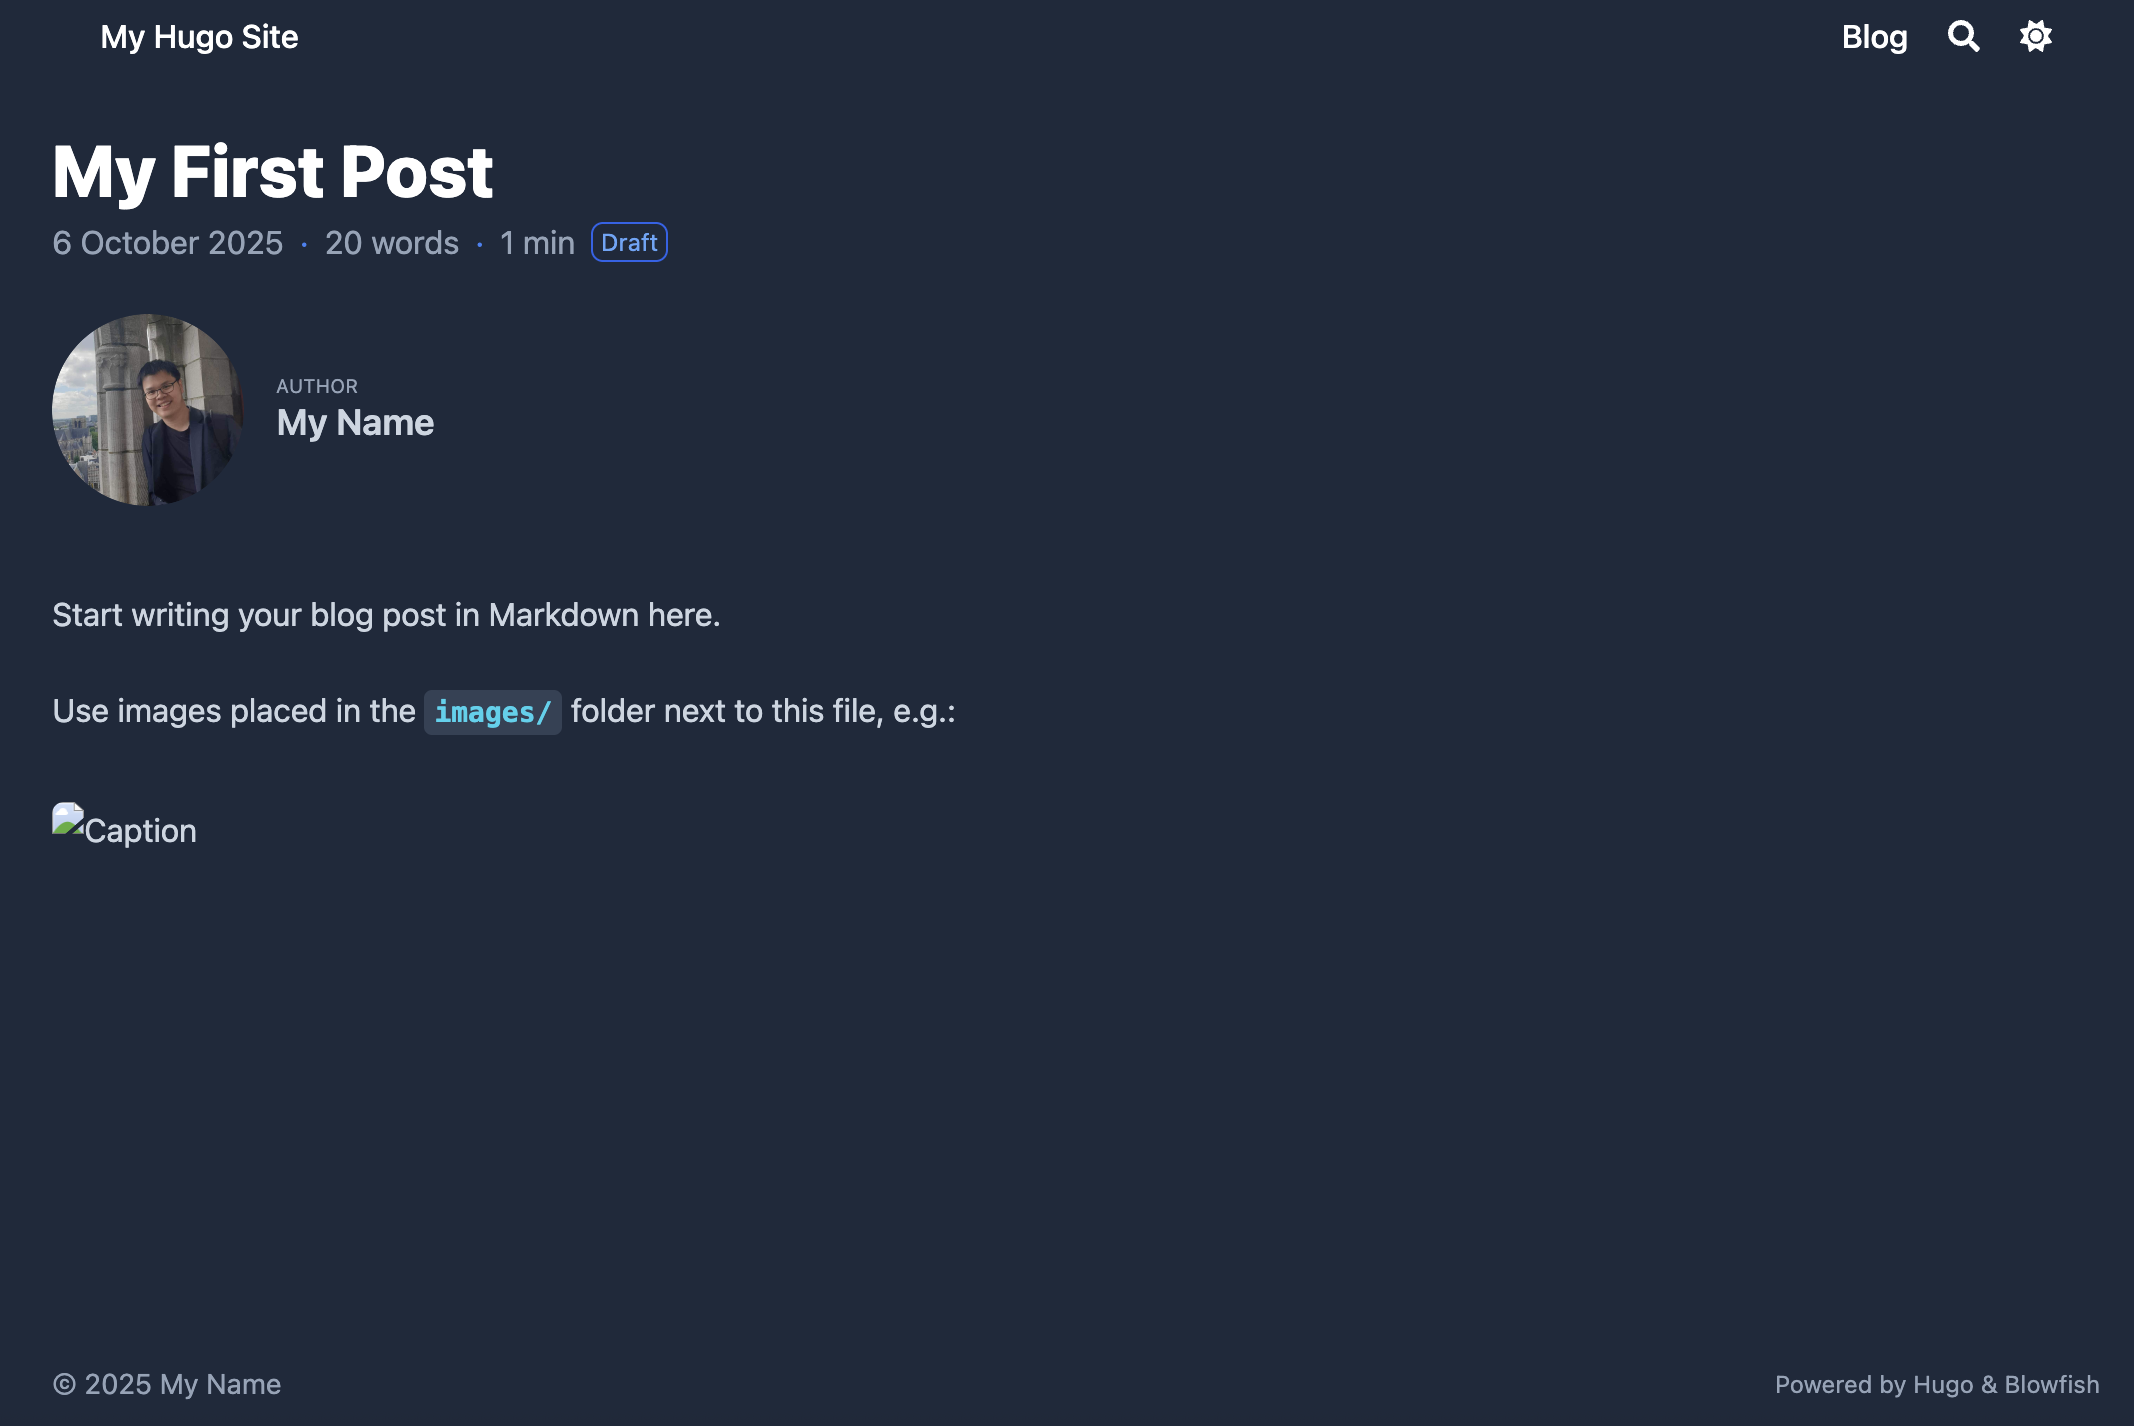
On your browser, you should see the post has been created by clicking the Blog section in the menu:
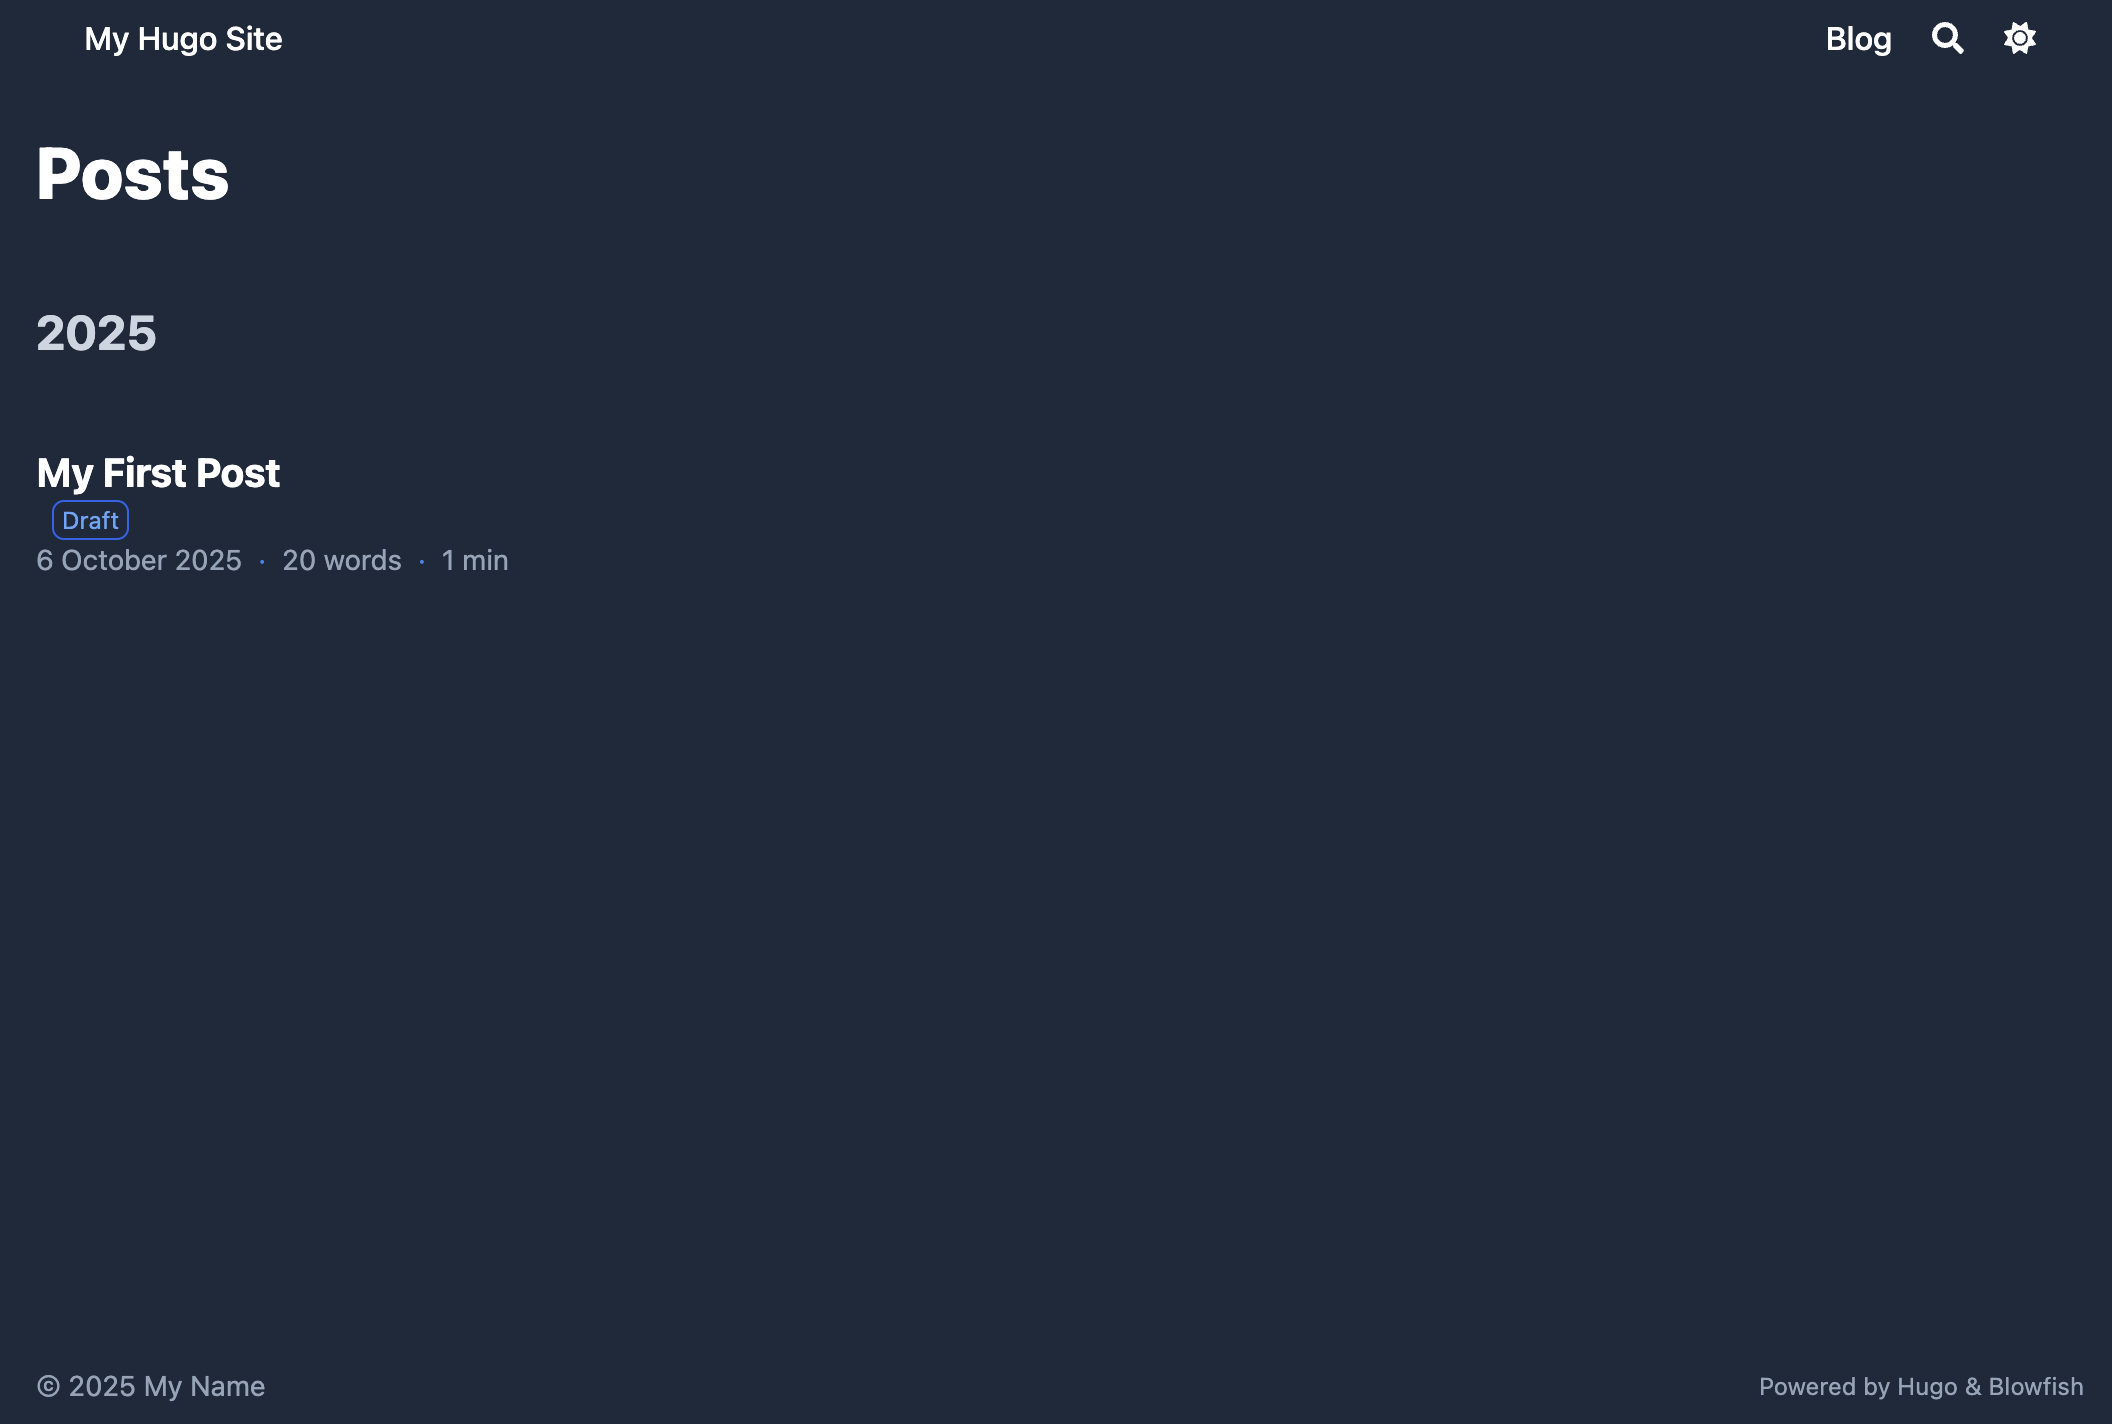
Open the post and you should see the post has been created with the default template.
7. Deploy to GitHub Pages#
Creat gitIgnore#
Create <your-site-name>/.gitignore file and add the following content:
### Node.js dependencies directory
node_modules
### Hugo build lock file
.hugo_build.lock

### OS generated files
### macOS system file for folder display options
.DS_Store
### Alternative macOS system file
.DS_Store?
### macOS resource fork files (commented out)
# ._*
### macOS Spotlight search index
.Spotlight-V100
### macOS trash folder
.Trashes

### Hugo
### Hugo generated static site output directory
public
Create a repo on GitHub#
Create a new repository on your GitHub account with the name <your-github-username>.github.io.
⚠️ Uncheck the Initialize this repository with a README checkbox to avoid the README.md file being created.
Add and push your site to the repo#
Run the following commands to add and push your site to the repo:
git branch -M main # set the branch to main
git remote add origin https://github.com/<your-github-username>/<your-github-username>.github.io.git
git add -A # add all files to the staging area
git commit -m "Initial commit for Hugo + Blowfish site" # commit the changes
git push -u origin main # push the changes to the remote repository
Add GitHub Action#
Create .github/workflows/gh-pages.yml file and add the following content:
# .github/workflows/gh-pages.yml

name: GitHub Pages

permissions:
  contents: write

on:
  push:
    branches:
      - main

jobs:
  build-deploy:
    runs-on: ubuntu-24.04
    concurrency:
      group: ${{ github.workflow }}-${{ github.ref }}
    steps:
      - name: Checkout
        uses: actions/checkout@v3
        with:
          submodules: true
          fetch-depth: 0

      - name: Setup Hugo
        uses: peaceiris/actions-hugo@v2
        with:
          hugo-version: "latest"

      - name: Build
        run: hugo --minify

      - name: Deploy
        uses: peaceiris/actions-gh-pages@v3
        if: ${{ github.ref == 'refs/heads/main' }}
        with:
          github_token: ${{ secrets.GITHUB_TOKEN }}
          publish_branch: gh-pages
          publish_dir: ./public
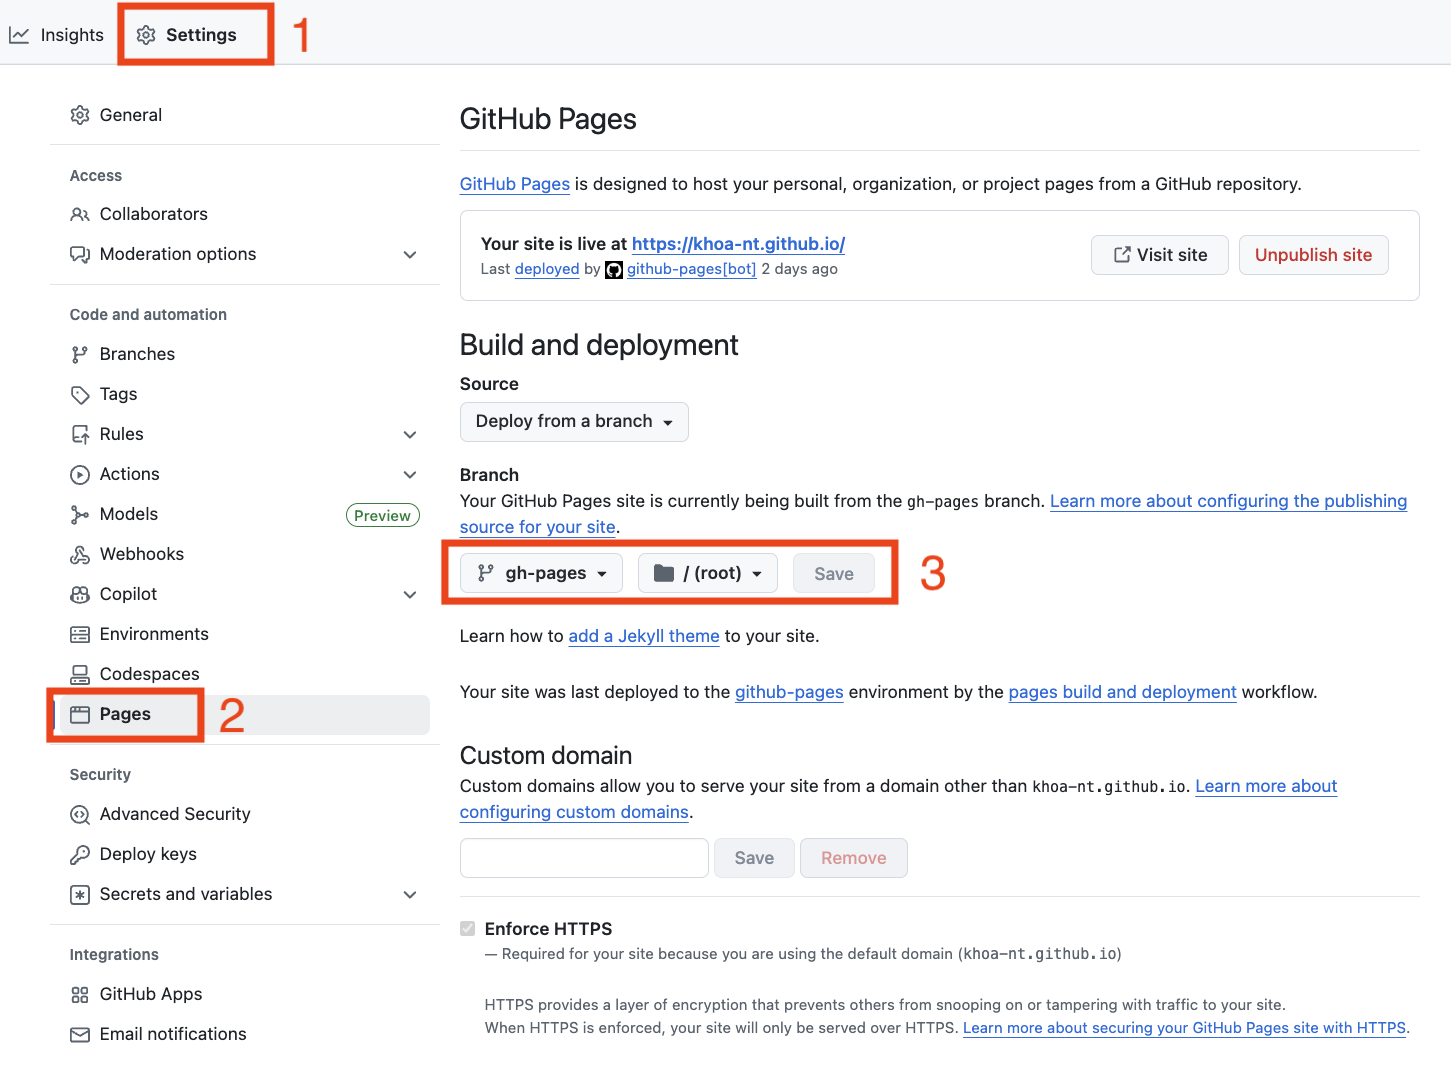
On your online repo, you should do the following steps:
- Go to
Settings - Go to
Pages - Set the
Branchtogh-pagesand clickSave
Go to your site https://<your-github-username>.github.io, you should see the site is deployed.
For example, https://khoa-nt.github.io is the domain for the GitHub account name “khoa-nt”.
8. Add a Comment System (Giscus)#
We will add a comment system to the site using Giscus.
Enable Giscus#
Go to giscus app and enable it only for your site repository.
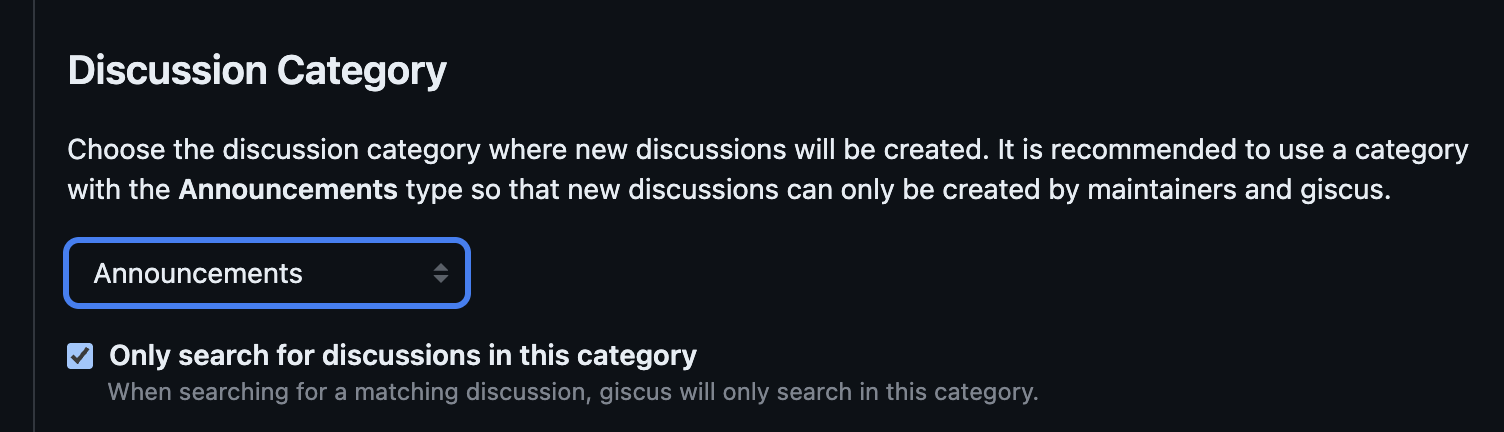
Configure Giscus#
Go to Giscus and follow the instructions to get the code: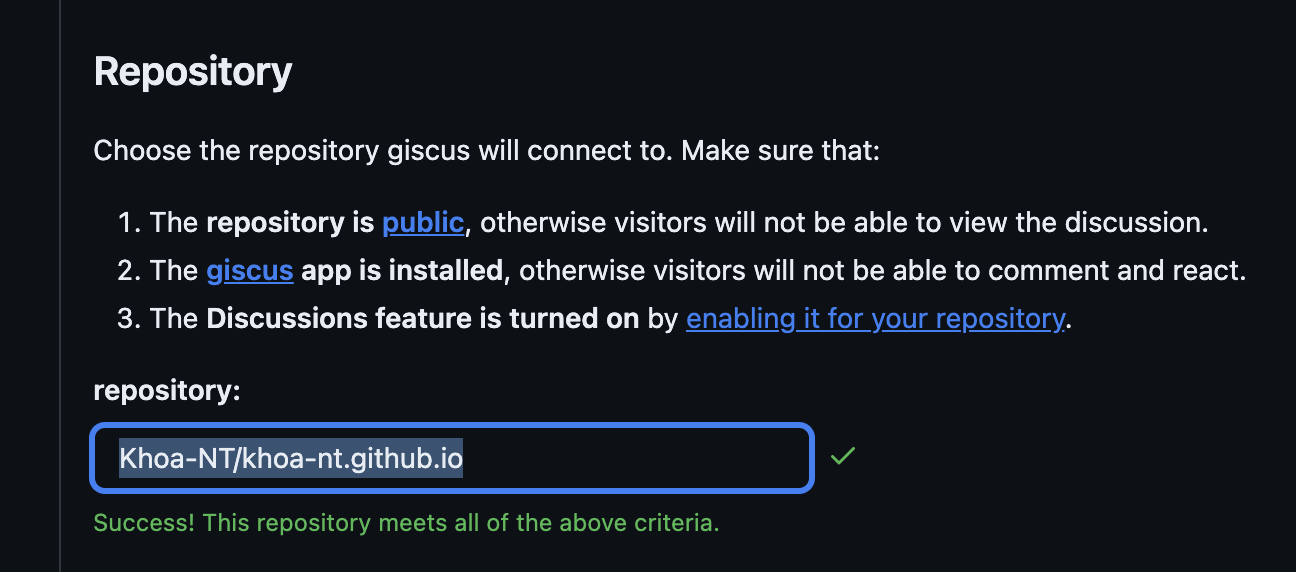
In the end, you should see the html <script> looks like this: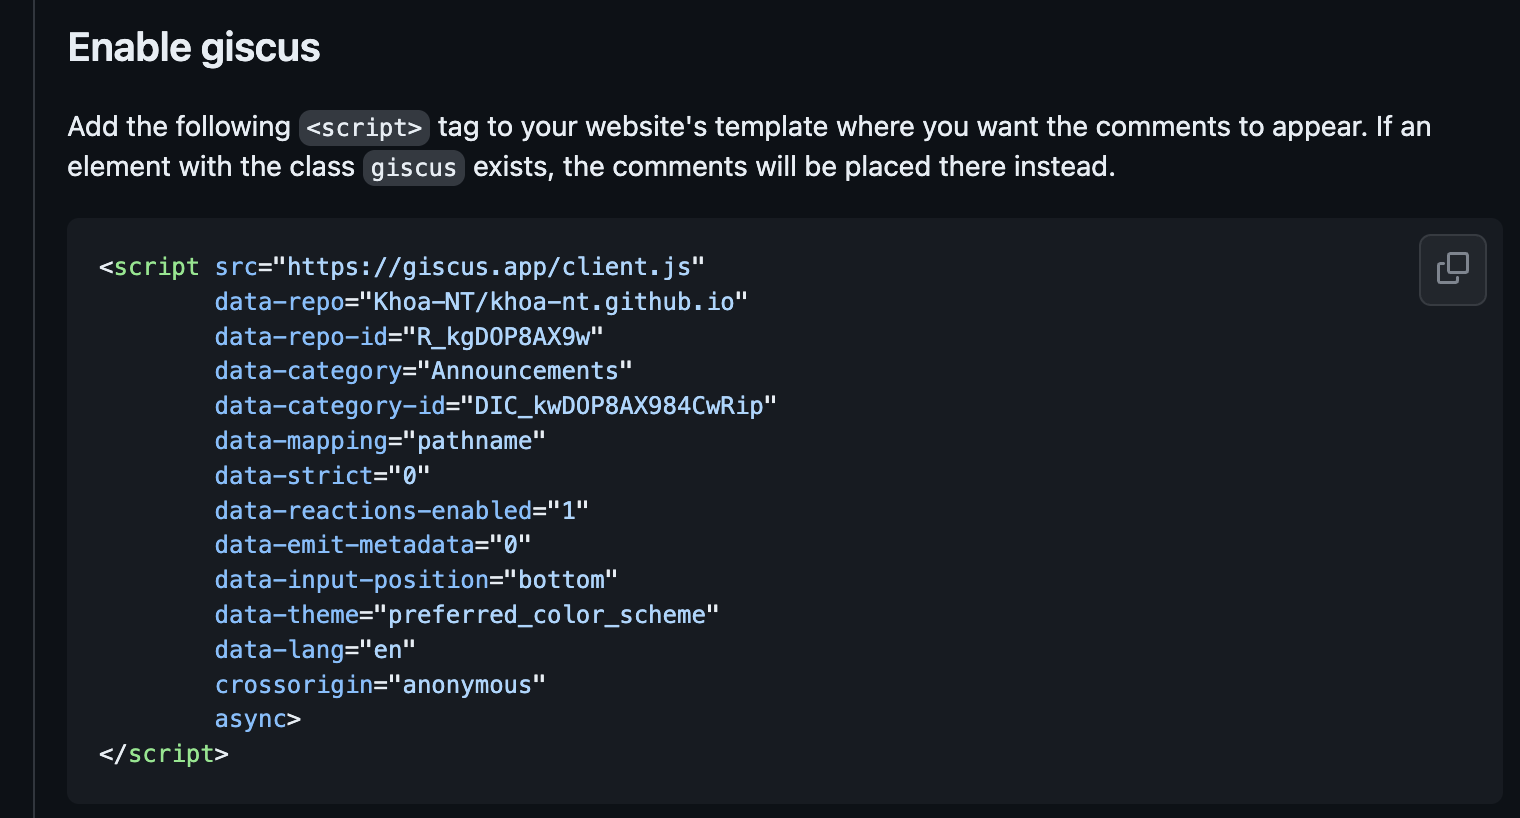
Add the html <script> to the site#
Create <your-site-name>/layouts/partials/comments.html, add the html <div> and your html <script> to the file.
<!-- Add class `giscus` so that Giscus can be displayed -->
<div class="giscus"></div>

<!-- PUT YOUR HTML `<script>` HERE -->
Refer to Blowfish Comments Configuration for more details.
Now comments appear under each post.
9. Wrap-Up and Next Steps#
🎉 Congratulations! You now have a live Hugo + Blowfish website hosted for free.
Next ideas:
- Customize colors and fonts.
- Add your publications page.
- Write blog posts from Markdown or Jupyter notebooks.
10. Reference#
Please leave your feedback or questions in the comments section below.
Thank you for reading!